Editing
Overview
Time: 30 minObjectives
Learn Audio editing using Audacity
Editing
Audio Editing is the process by which you refine your story, craft a sense of flow, and mitigate any audible distractions. It’s a largely subtractive process of trimming your raw recording down and rearranging it, where necessary, into its most compelling form.
This is generally the time to lay out any sound effects, transitions, music, or pre-recorded advertising you may be including in your episode, as well as employ any necessary de-noising processing to your tracks.
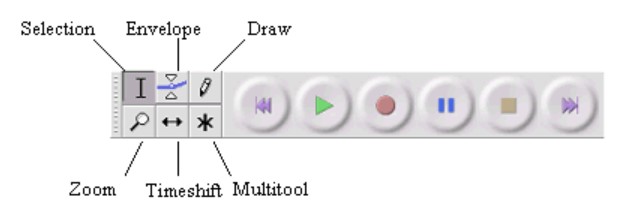
Select
The whole of an individual track can be selected by clicking in the Select button in the Track Control Panel to the left of a track. Holding Ctrl (or ⌘ + A on a Mac) and clicking on the Select button toggles the selectedness of the track.
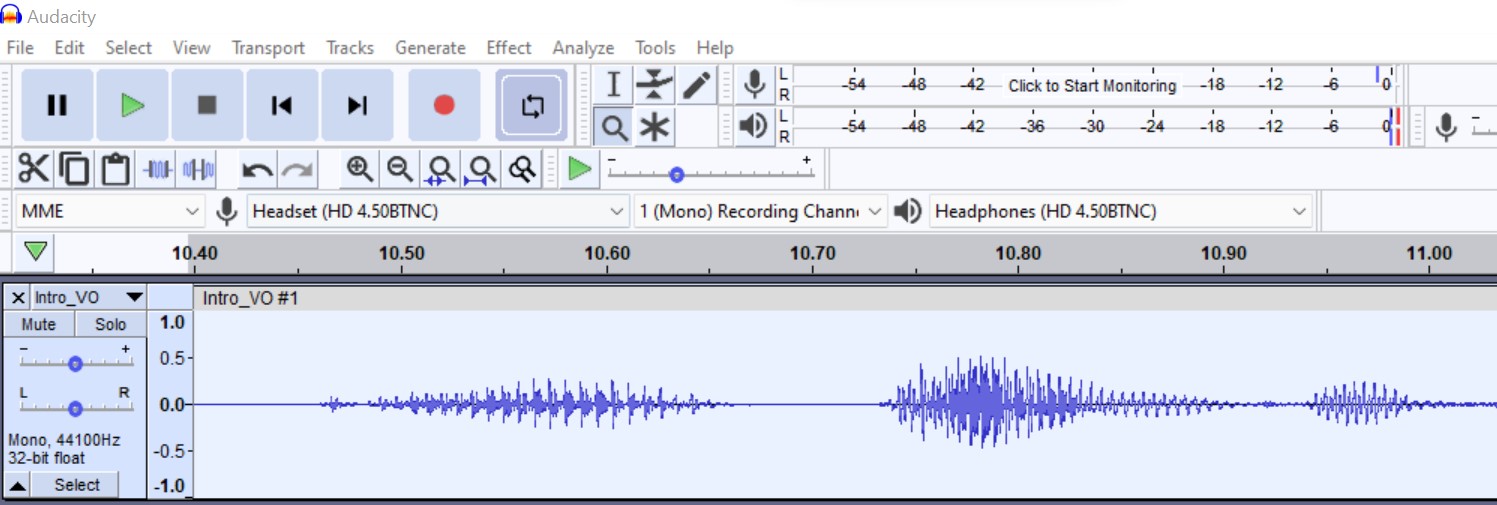
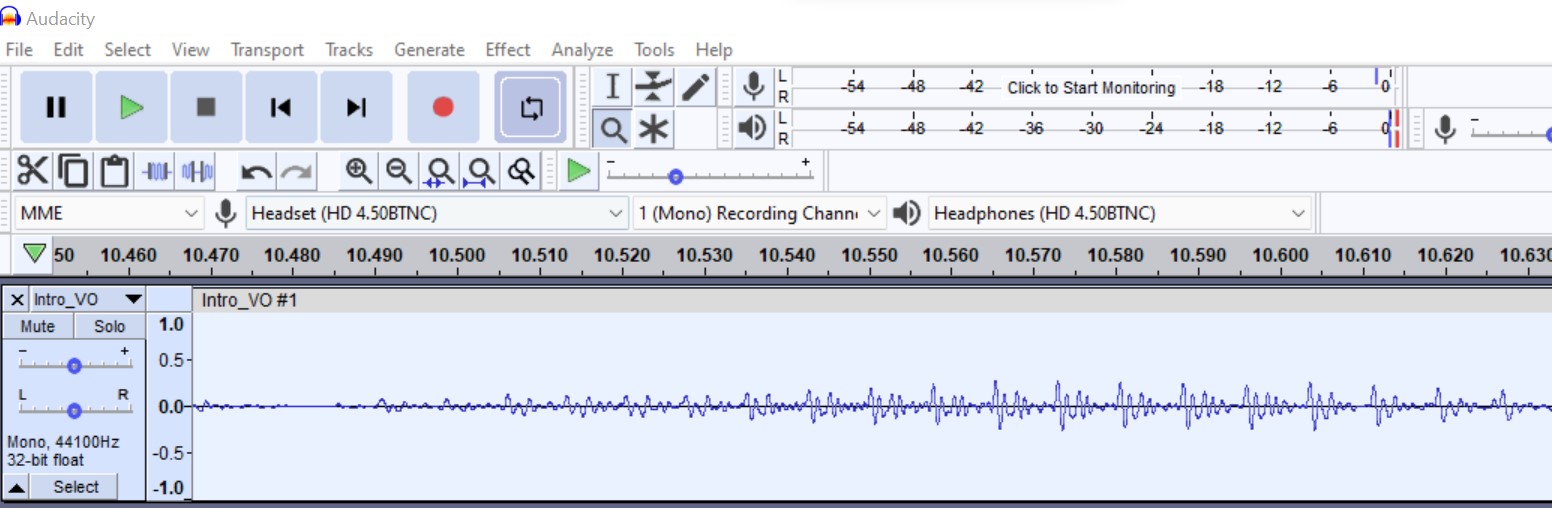
Zoom
The Zoom commands enable you to control the amount of audio, longer or shorter periods of time, that is visible on your screen. Hold down the Ctrl key on your keyboard then scroll up to zoom in, or scroll down to zoom out. For example. you can zoom in at or near the start or end of a selection by placing your cursor position there.
Import Audio
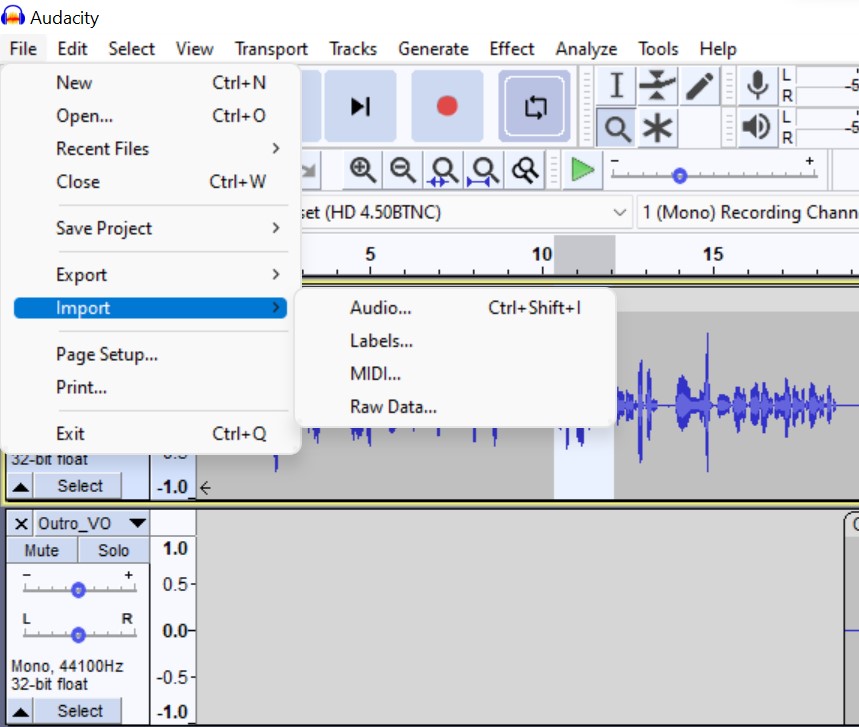
Enables you to import audio files or label files into your project. Files in various audio formats can be imported into Audacity.
Select the File > Import > Audio… command, then choose one or more audio files, Audacity will import the selected file(s) into the existing project. This is useful to bring the content of one or more audio files into a project that already contains audio (for example, to mix several audio files together).
Gain
The “Gain” control on the left end of each audio track controls how loud the track plays. It does not change the actual audio data (which in on your hard drive), it just changes the playback level. It is therefore safe to move that up and down as often as you like and it will not affect the audio data that is on disk.

Delete
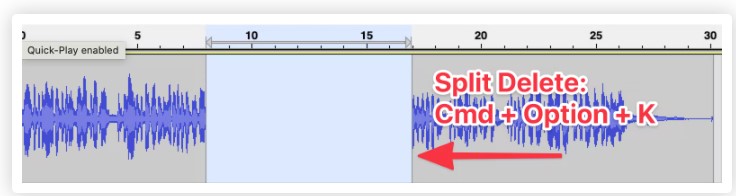
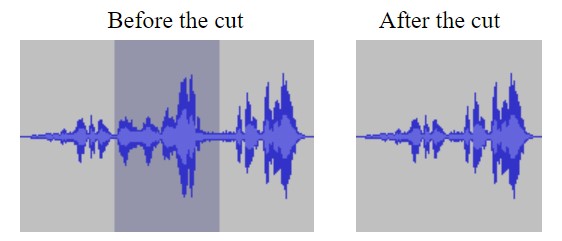
The Delete command removes a selected area without shifting the audio to the right of the selection, leaving a space where the audio once was. Delete comes in handy when you want to create a gap between clips to insert a segment, interview, or advertisement.
To delete a portion of your audio, highlight the selection and go to Edit > Remove Special > Split Delete, or use the keyboard shortcut Cmd + Option + K. As you can see in this example, the command deleted the selected audio and did not shift the clip over.
Envelope tool
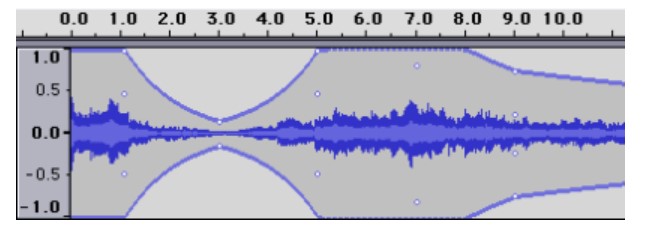
When you use the envelope tool, you will be able to control and manipulate the control points on a track. These control points will help to determine the changes in volume over a period of time. However, you cannot use this tool when you pause a track.
Amplify
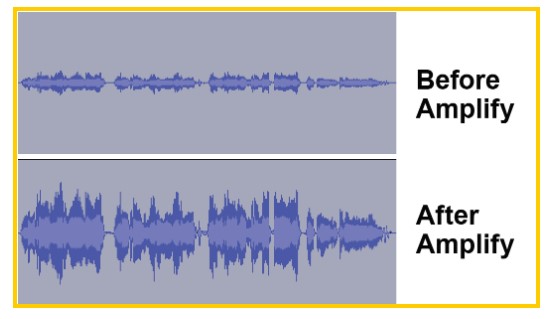
Overall clip and track volume can be adjusted in two ways: with the volume slider in the track controls, and with the Amplify effect. We recommend using Amplify to increase volume in most cases, because the volume changes are visually reflected in the waveform via height changes. Adjustments with the volume slider, on the other hand, do not affect the waveform height, which can be confusing.
Select the desired clips(s).
- For a single clip, click the top of the clip (near the clip name).
- For multiple clips, click-and-drag to highlight the desired clips with the Selection Tool.
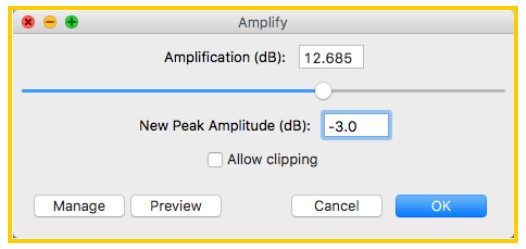
- Navigate to Effect > Amplify. A new window will appear.
- Set the New Peak Amplitude to -3.0 db. This will increase the clip volume to an ideal level.
Time Shift
The Time Shift Tool does exactly what it sounds like: it allows you to shift the point in time where an audio file starts playing. We’ll use this sample audio file as an example.
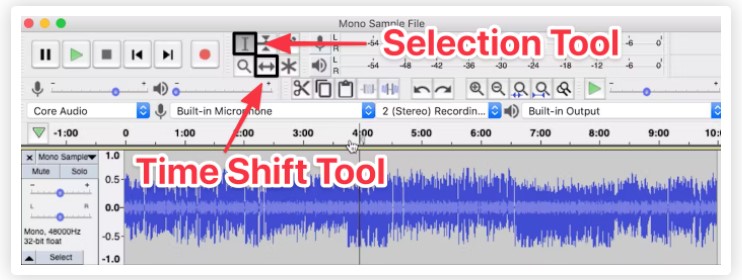
Now you can select the Time Shift Tool — the button with the bidirectional arrows located at the top of your workspace — and move the clip back and forth on the Timeline to adjust the waveform to a specific time point.
For example, you can adjust the waveform to start exactly at the one minute mark, so it starts playing one minute into the episode.
Cut/Copy
Tools to copy, duplicate and paste audio. Audio can only be pasted into the same track or another audio track.
- Selections in Label tracks can be cut and pasted to Label tracks.
- Selections in Note tracks can be cut and pasted to Note tracks.
Only one item can be on the clipboard at a time.
Auto Deck
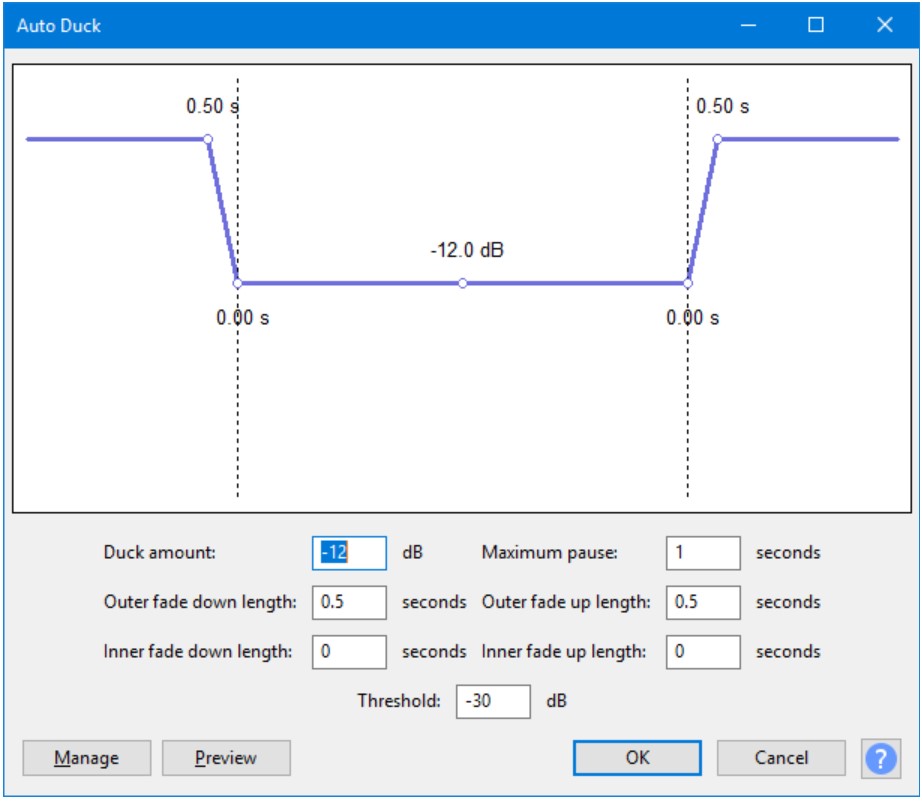
Auto duck reduces the volume of a selected track, when volume reaches a threshold value. The number of the selected tracks can be one or more. It can be used for podcasts and to ramp up background music, generally used for radio communication. It can also turn down voice as soon as the translation of the original music comes.
Accessed by: Effect > Auto Duck…
Fade out/in
After highlighting and selecting a piece of audio, choose Fade in or Fade out from the Effects menu and Audacity will taper off the sound for Fade Out or bring up the volume for Fade Out.
Background noise Reduction
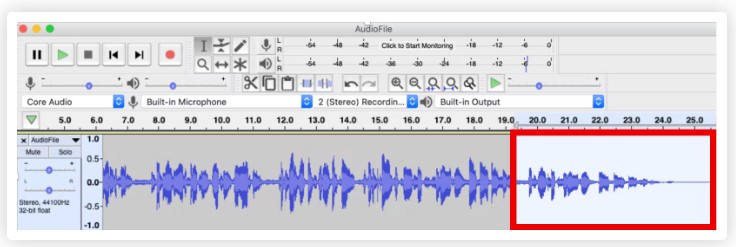
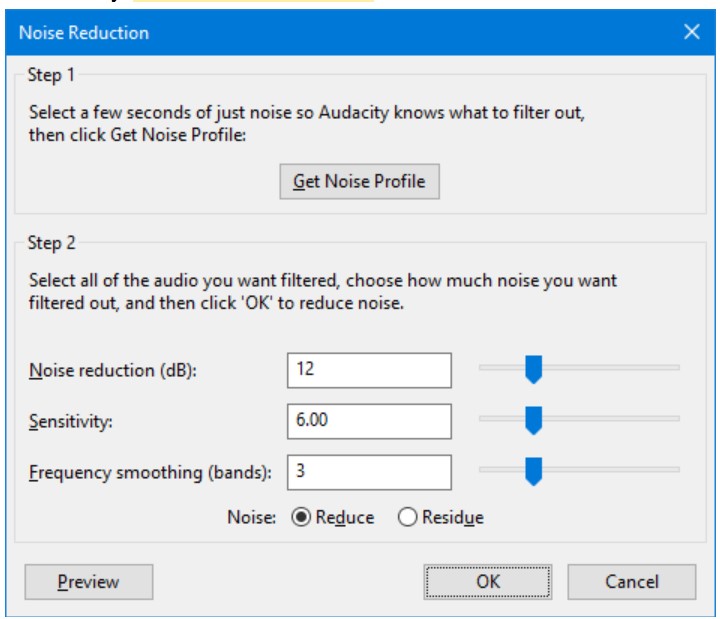
Noise Reduction can reduce constant background sounds such as hum, whistle, whine, buzz, and “hiss”, such as tape hiss, fan noise or FM/webcast carrier noise. It is not suitable for individual clicks and pops, or irregular background noise such as from traffic or an audience. To use Noise Reduction, you need a region in the waveform that contains only the noise you want to reduce.
Be aware that it may be impossible to get a satisfactory removal when the noise is very loud, when the noise is variable, when the music or speech is not much louder than the noise or when the noise frequencies are very similar to those of the music or speech.
Accessed by: Effect > Noise Reduction…
Export
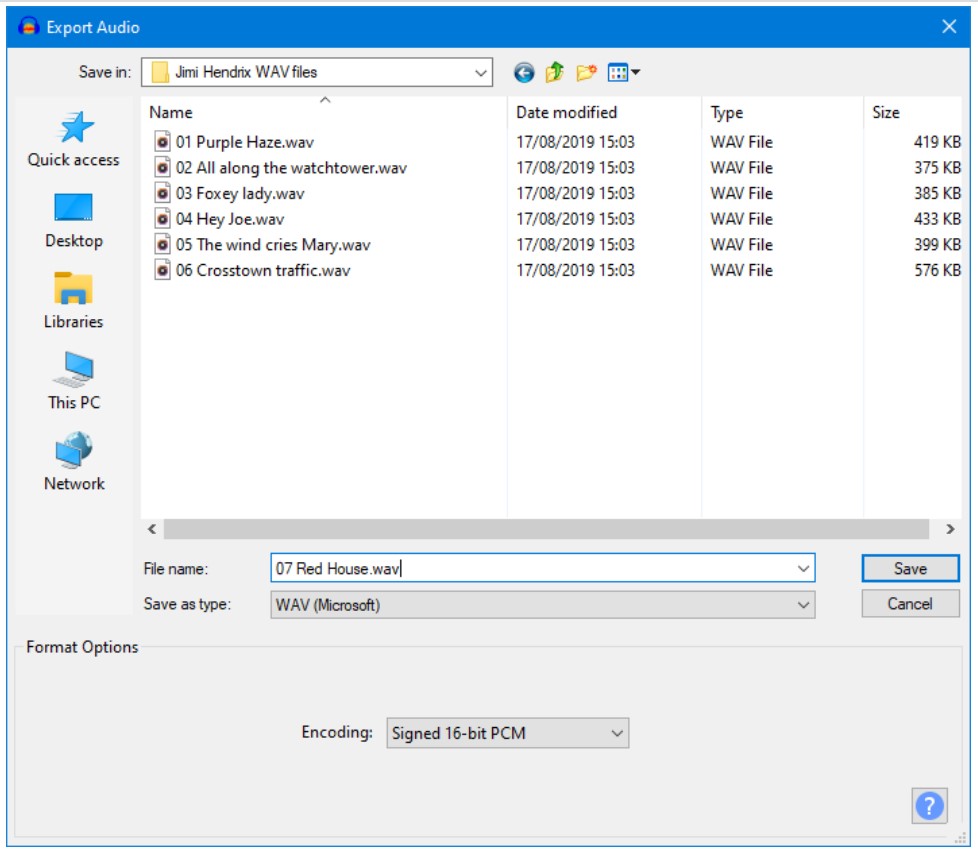
he Export Audio dialog (for export of a single audio file from the whole project) is accessed from File > Export > Export Audio…. When you use File > Export > Export Selected Audio… to export a single audio file from a selection, the Export Selected Audio dialog appears. Both these dialogs are identical (apart from the dialog title) and let you specify folder location, file name, format and encoding options for your exported file.
Accessed by: File > Export > Export Audio… or File > Export > Export Selected Audio…
Key Points
Learnt various tools in audacity that will help in audio editing